Creating your network and node
Use Case: You're a network administrator who wants to stand up your own private Ethereum network with the consensus and trust inherited from the most active public networks.
The basics
You are about to set up a private Ethereum network with the trust of a public distributed ledger. You will create your network by building Ethereum nodes that process Web3 commands like any Ethereum node but delegate consensus to a non-Ethereum public consensus network. In doing so, you get the programmability and compatibility of Ethereum with the consensus network's speed, trust, and low cost. It's a win-win situation!
Creating a network
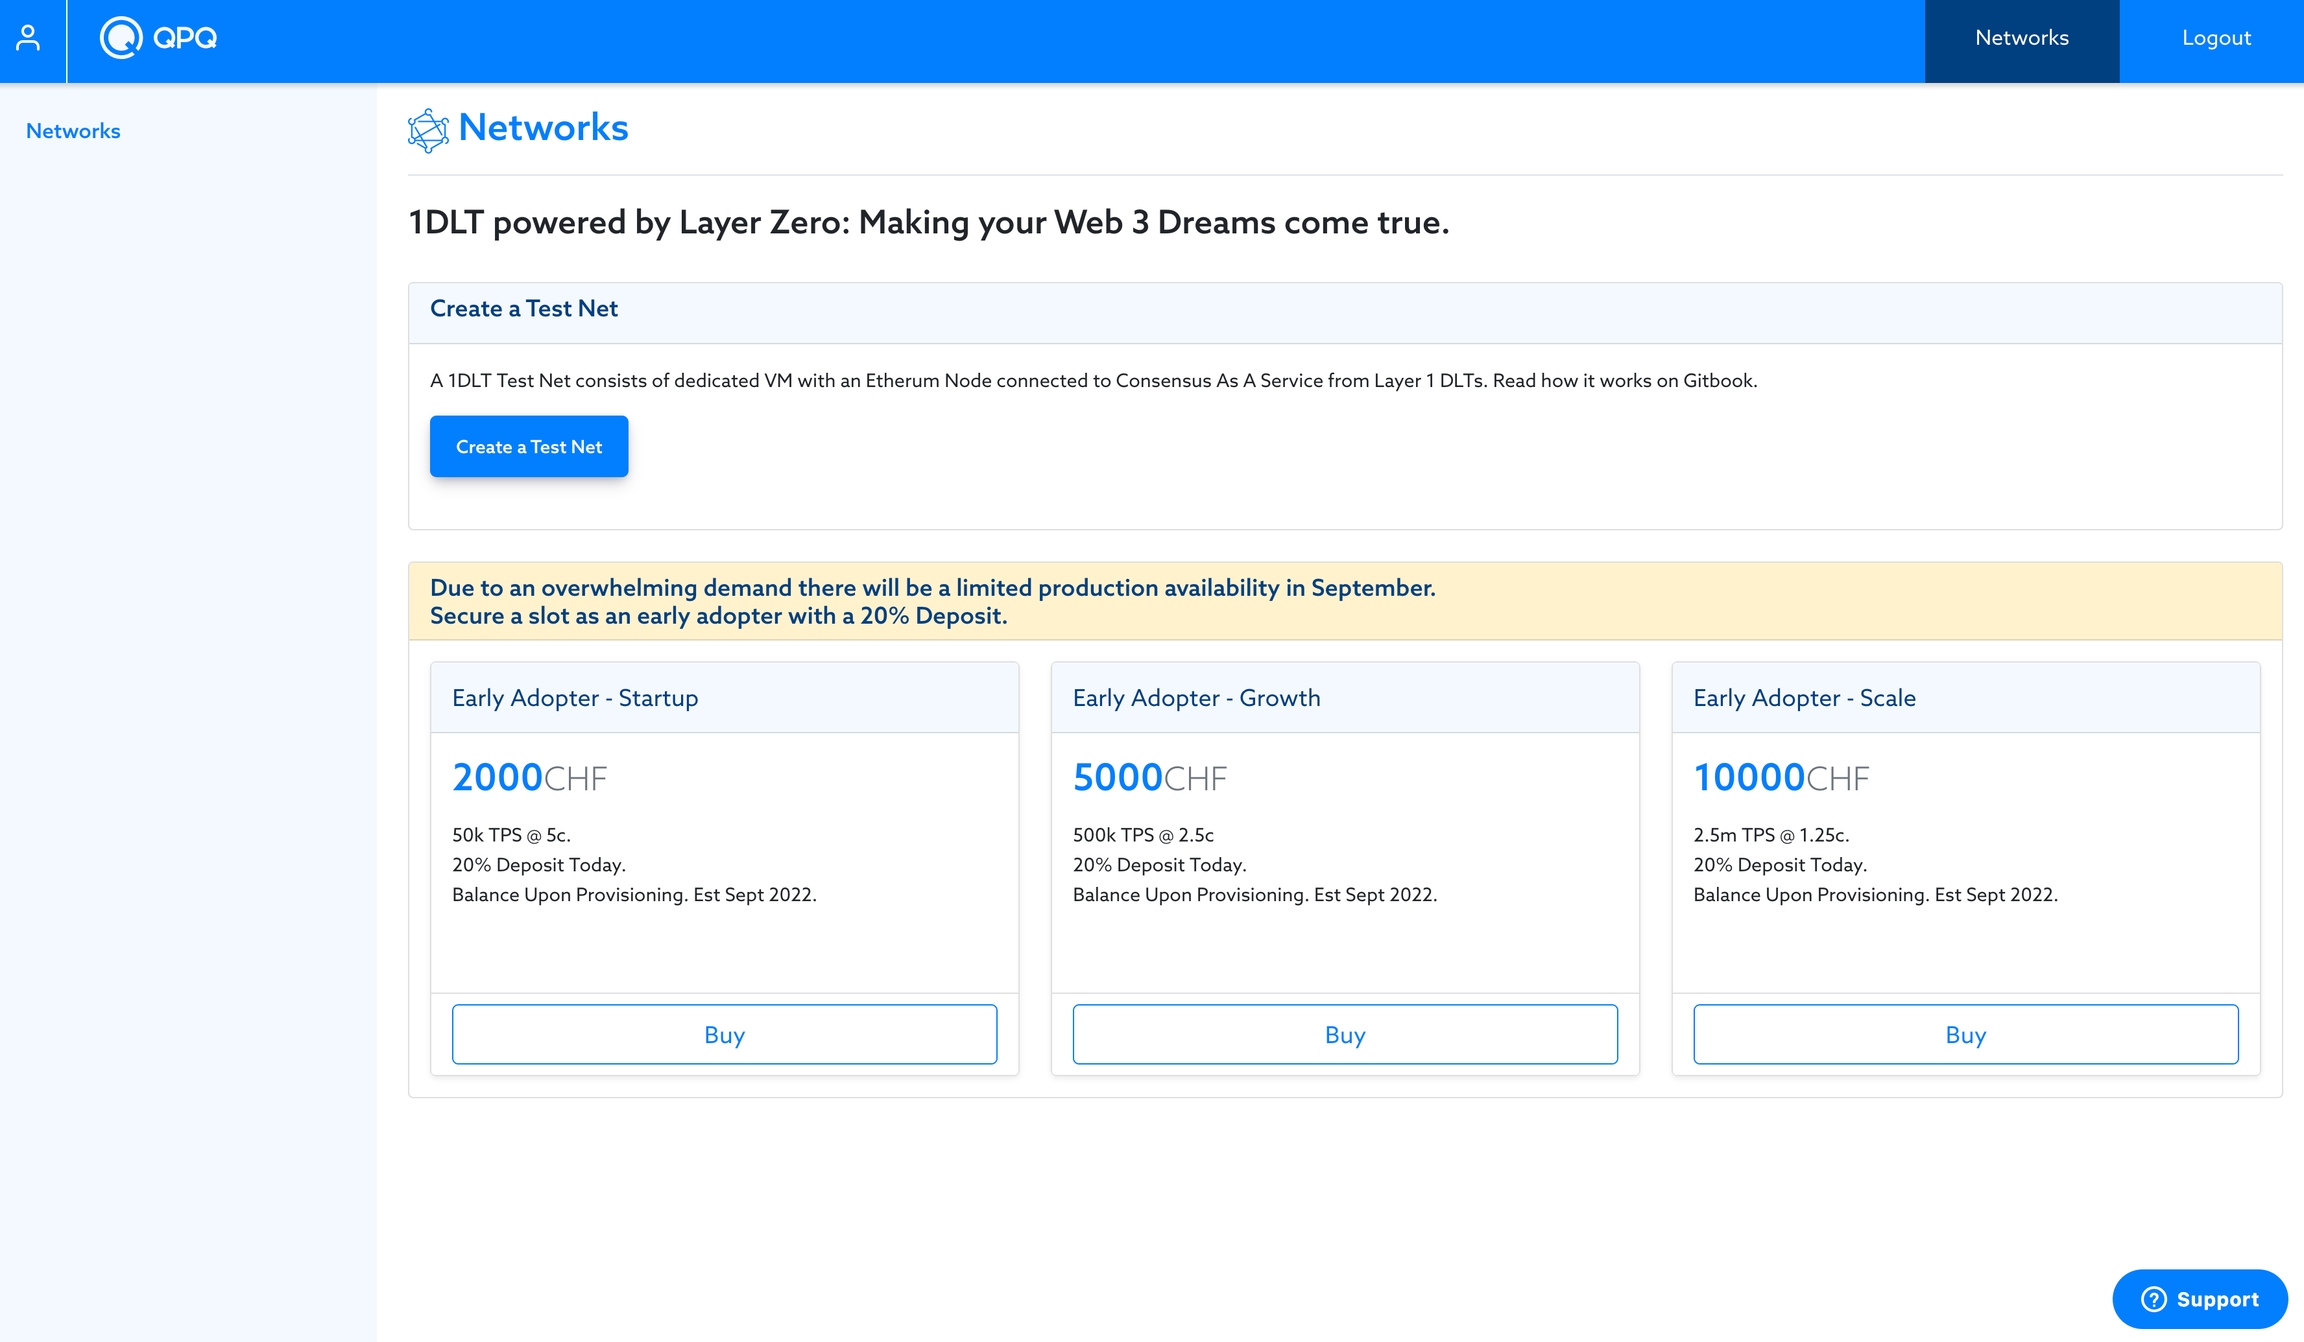
Once you've created an account and logged into the QPQ Platform, you will see a "Networks" tab in the left navigation. As a new account, you won't have any networks created yet.
Click "Create Test Net" to configure and initialize your network and node.
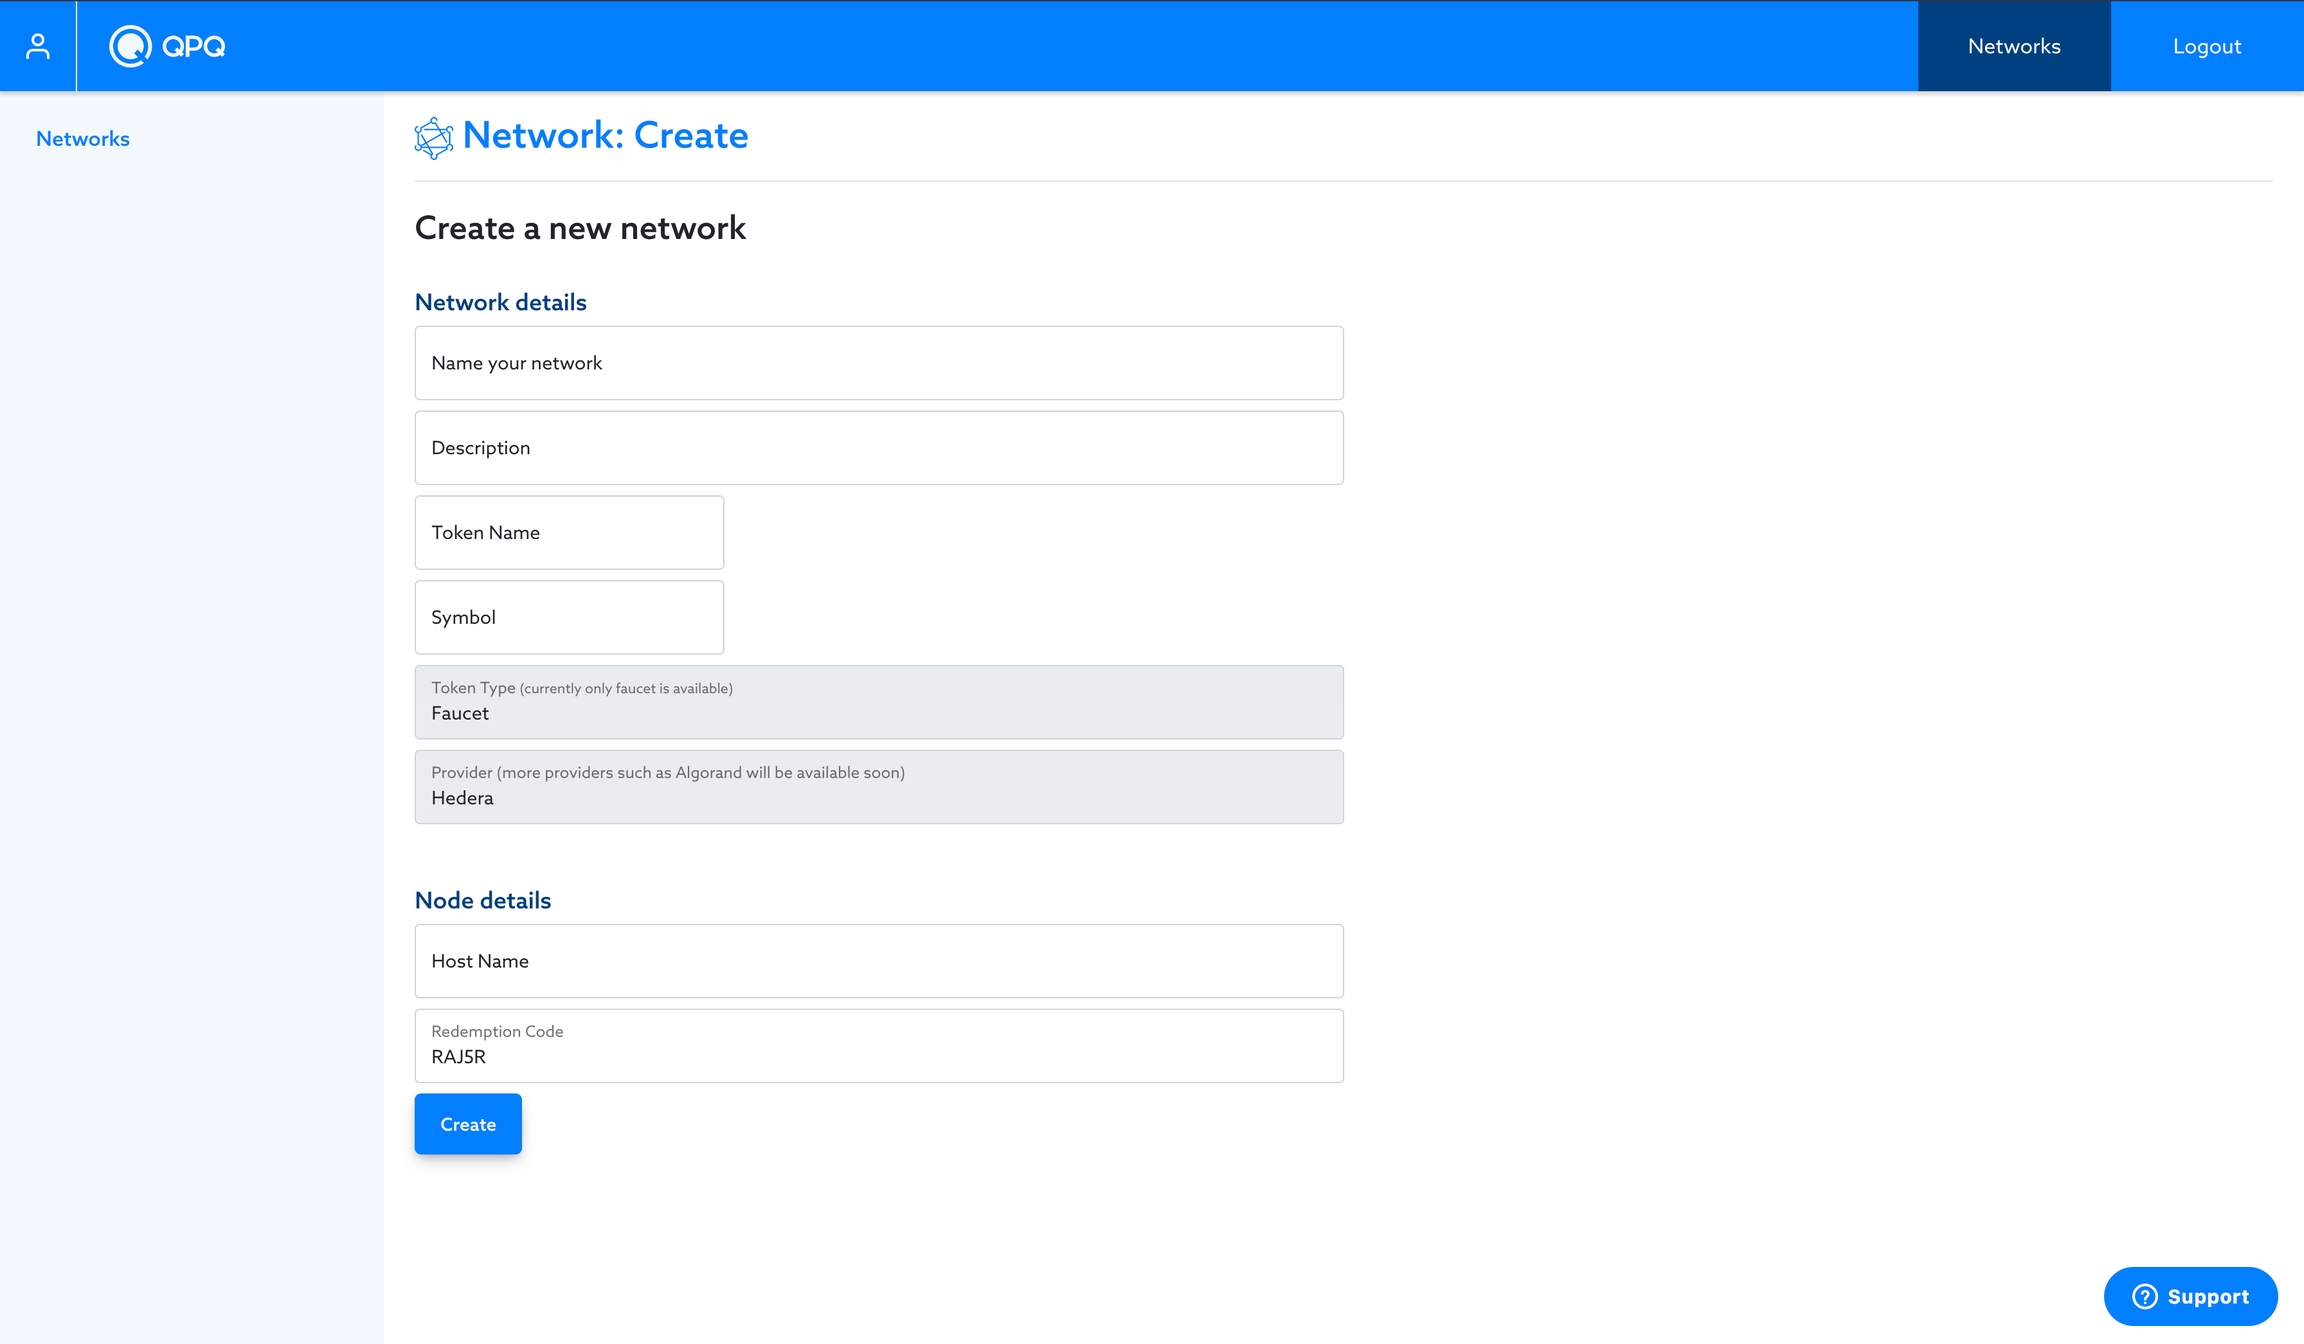
Here you can define a few things:
Name your network: This will be your internal network name. It will show on your Networks view and how other QPQ Platform users see your network. Note: This name is visible to external parties.
Add a description: This is also a QPQ Platform-specific field. This field is a simple description of the network you're setting up. This description may be helpful to let QPQ Platform users know what you intended this network to be used for.
Token Type: The current option for utility token generation is by faucet only. The only way to distribute the core utility token of the new network is for users to enter their Ethereum address into a faucet, and they will be issued the token automatically.
Token Name: This is the name of your network's utility token.
Symbol: This is the symbol of your network's utility token.
Note: In Beta, there is no charge for nodes to the Node Host. The pricing of nodes here demonstrates the future need for the node host to fund the maintenance of nodes.
Hostname: This is a unique name used to identify your node.
Redemption Code: In Beta, you will not be charged for your nodes but will only be able to stand up a node with a redemption code. This system helps to control the cost to QPQ during this early access and testing phase. In the future, Node Hosts will pay for their nodes.
It should look something like this now:
When a network is set up, a configuration has been defined, and a consensus channel has been initialized. This consensus channel is, in essence, a decentralized message queue through which all nodes in that network stay synchronized. This system is what makes a QPQ 1DLT network so powerful. The nodes in the network are responsible for processing commands as they come from the decentralized message queue but delegate the actual consensus function to a public network via QPQ's Consensus-as-a-Service ("CaaS").
Nodes receive Web3 calls from Web3 applications. The nodes then forward those calls to CaaS. CaaS routes the calls to the appropriate public network for achieving consensus. When consensus is reached, and a finalized transaction is returned, CaaS then distributes the finalized call to all nodes in the network. In this way, the stream of transactions is identical between nodes, and the resulting node state is guaranteed to be in sync.
Once you've filled out all of the details for your node, you can now "Create Node".
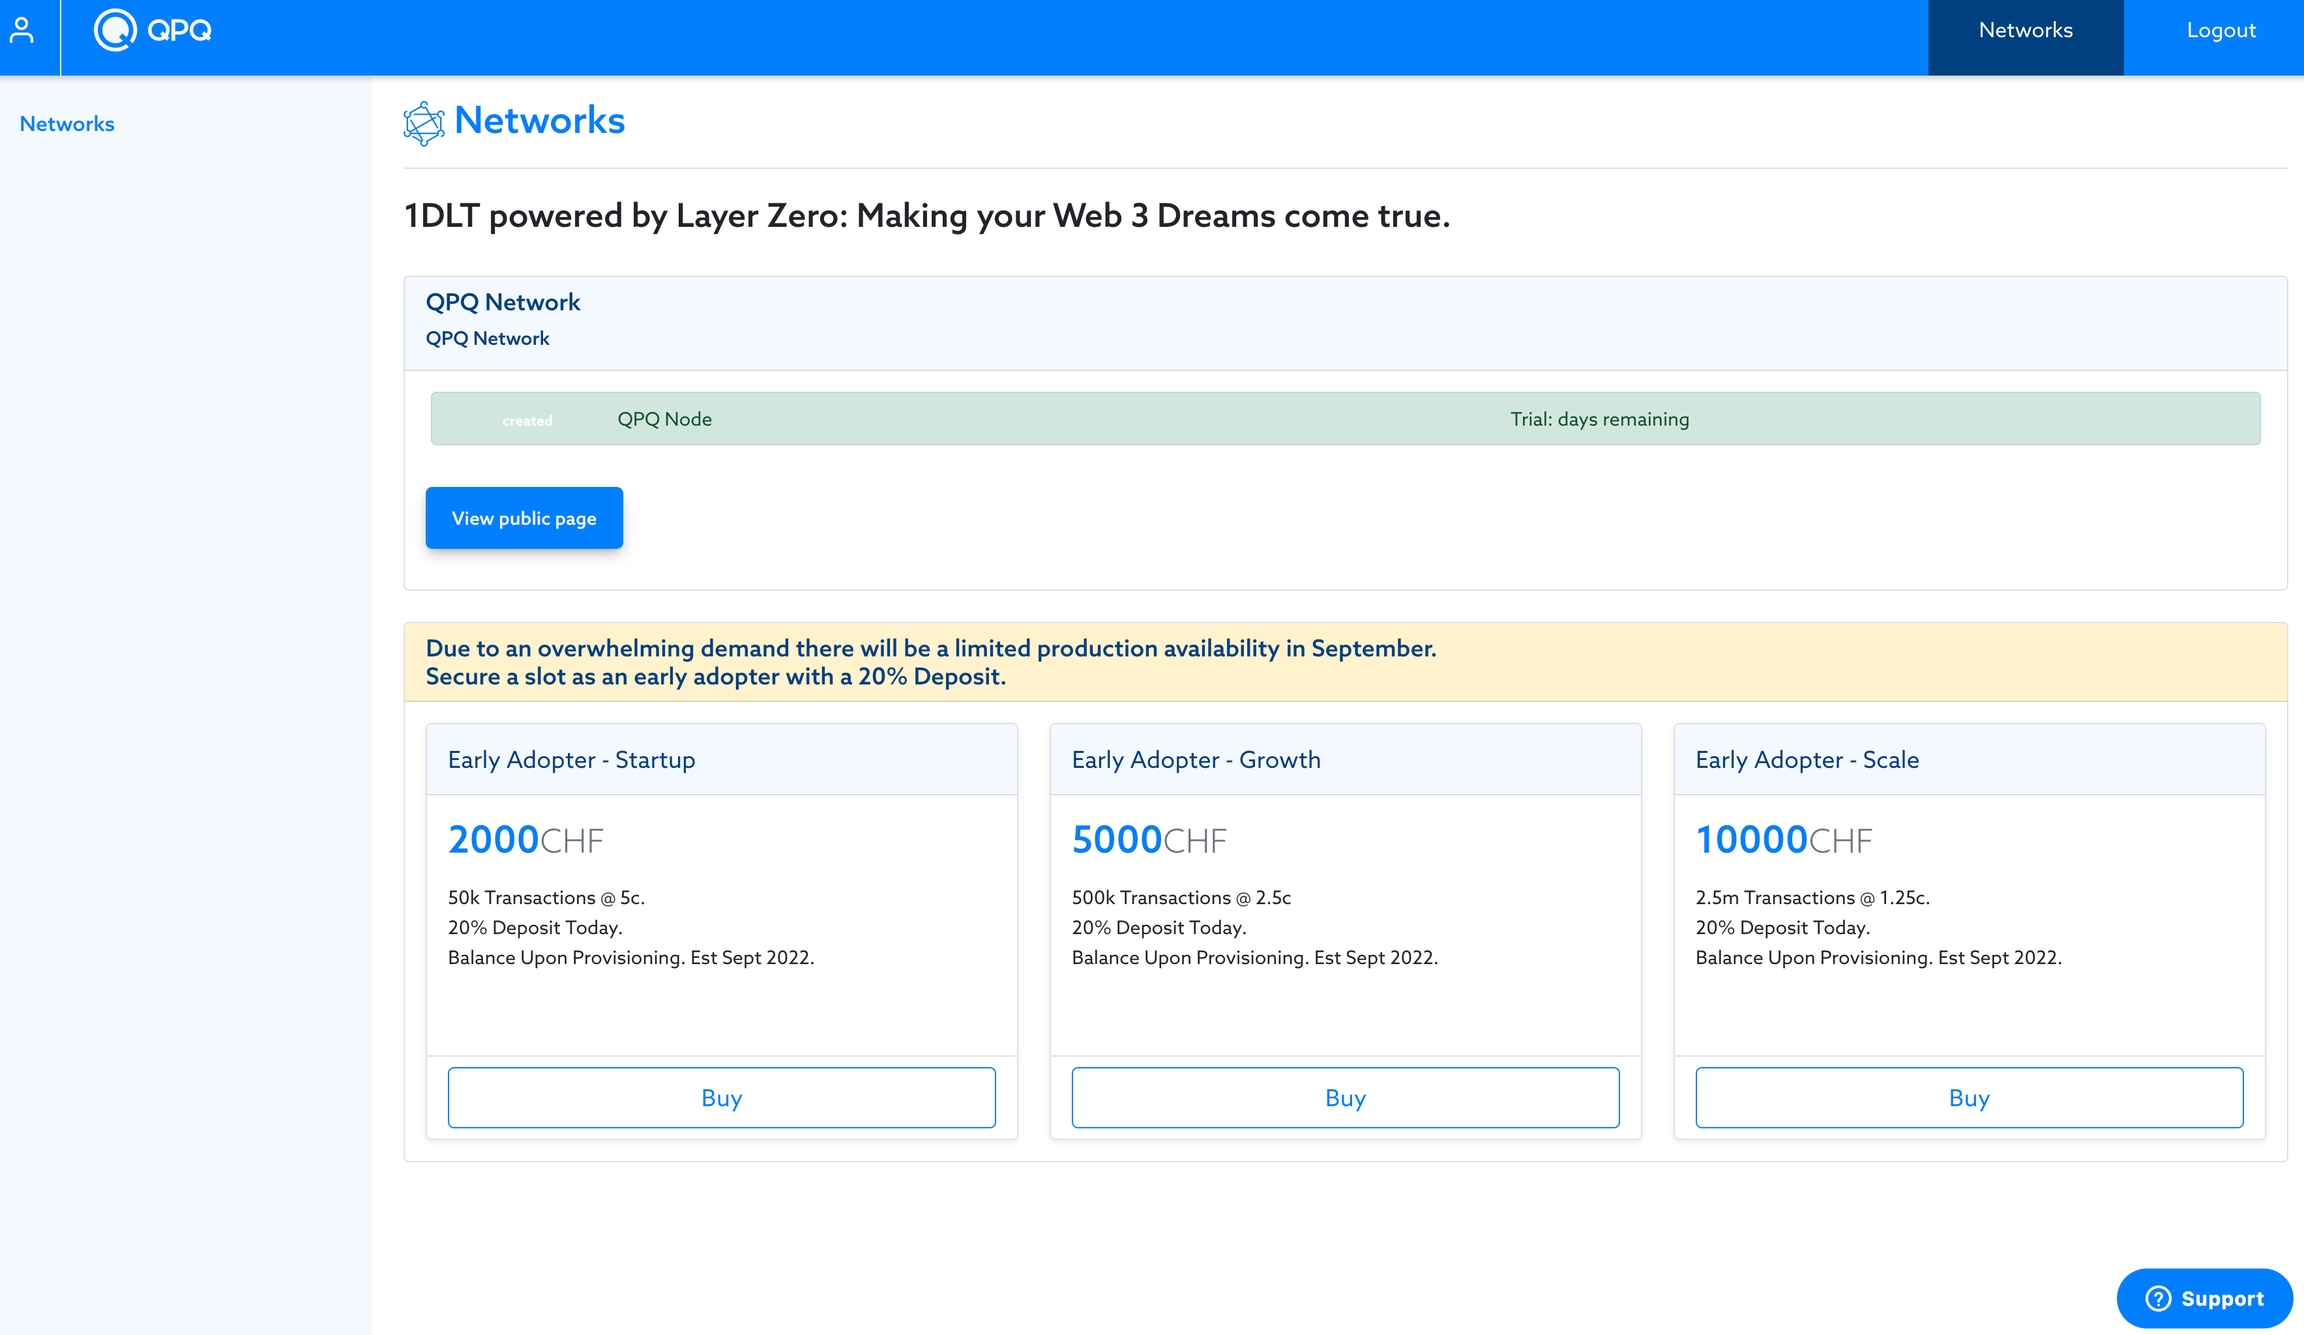
Creating a node triggers a build process.
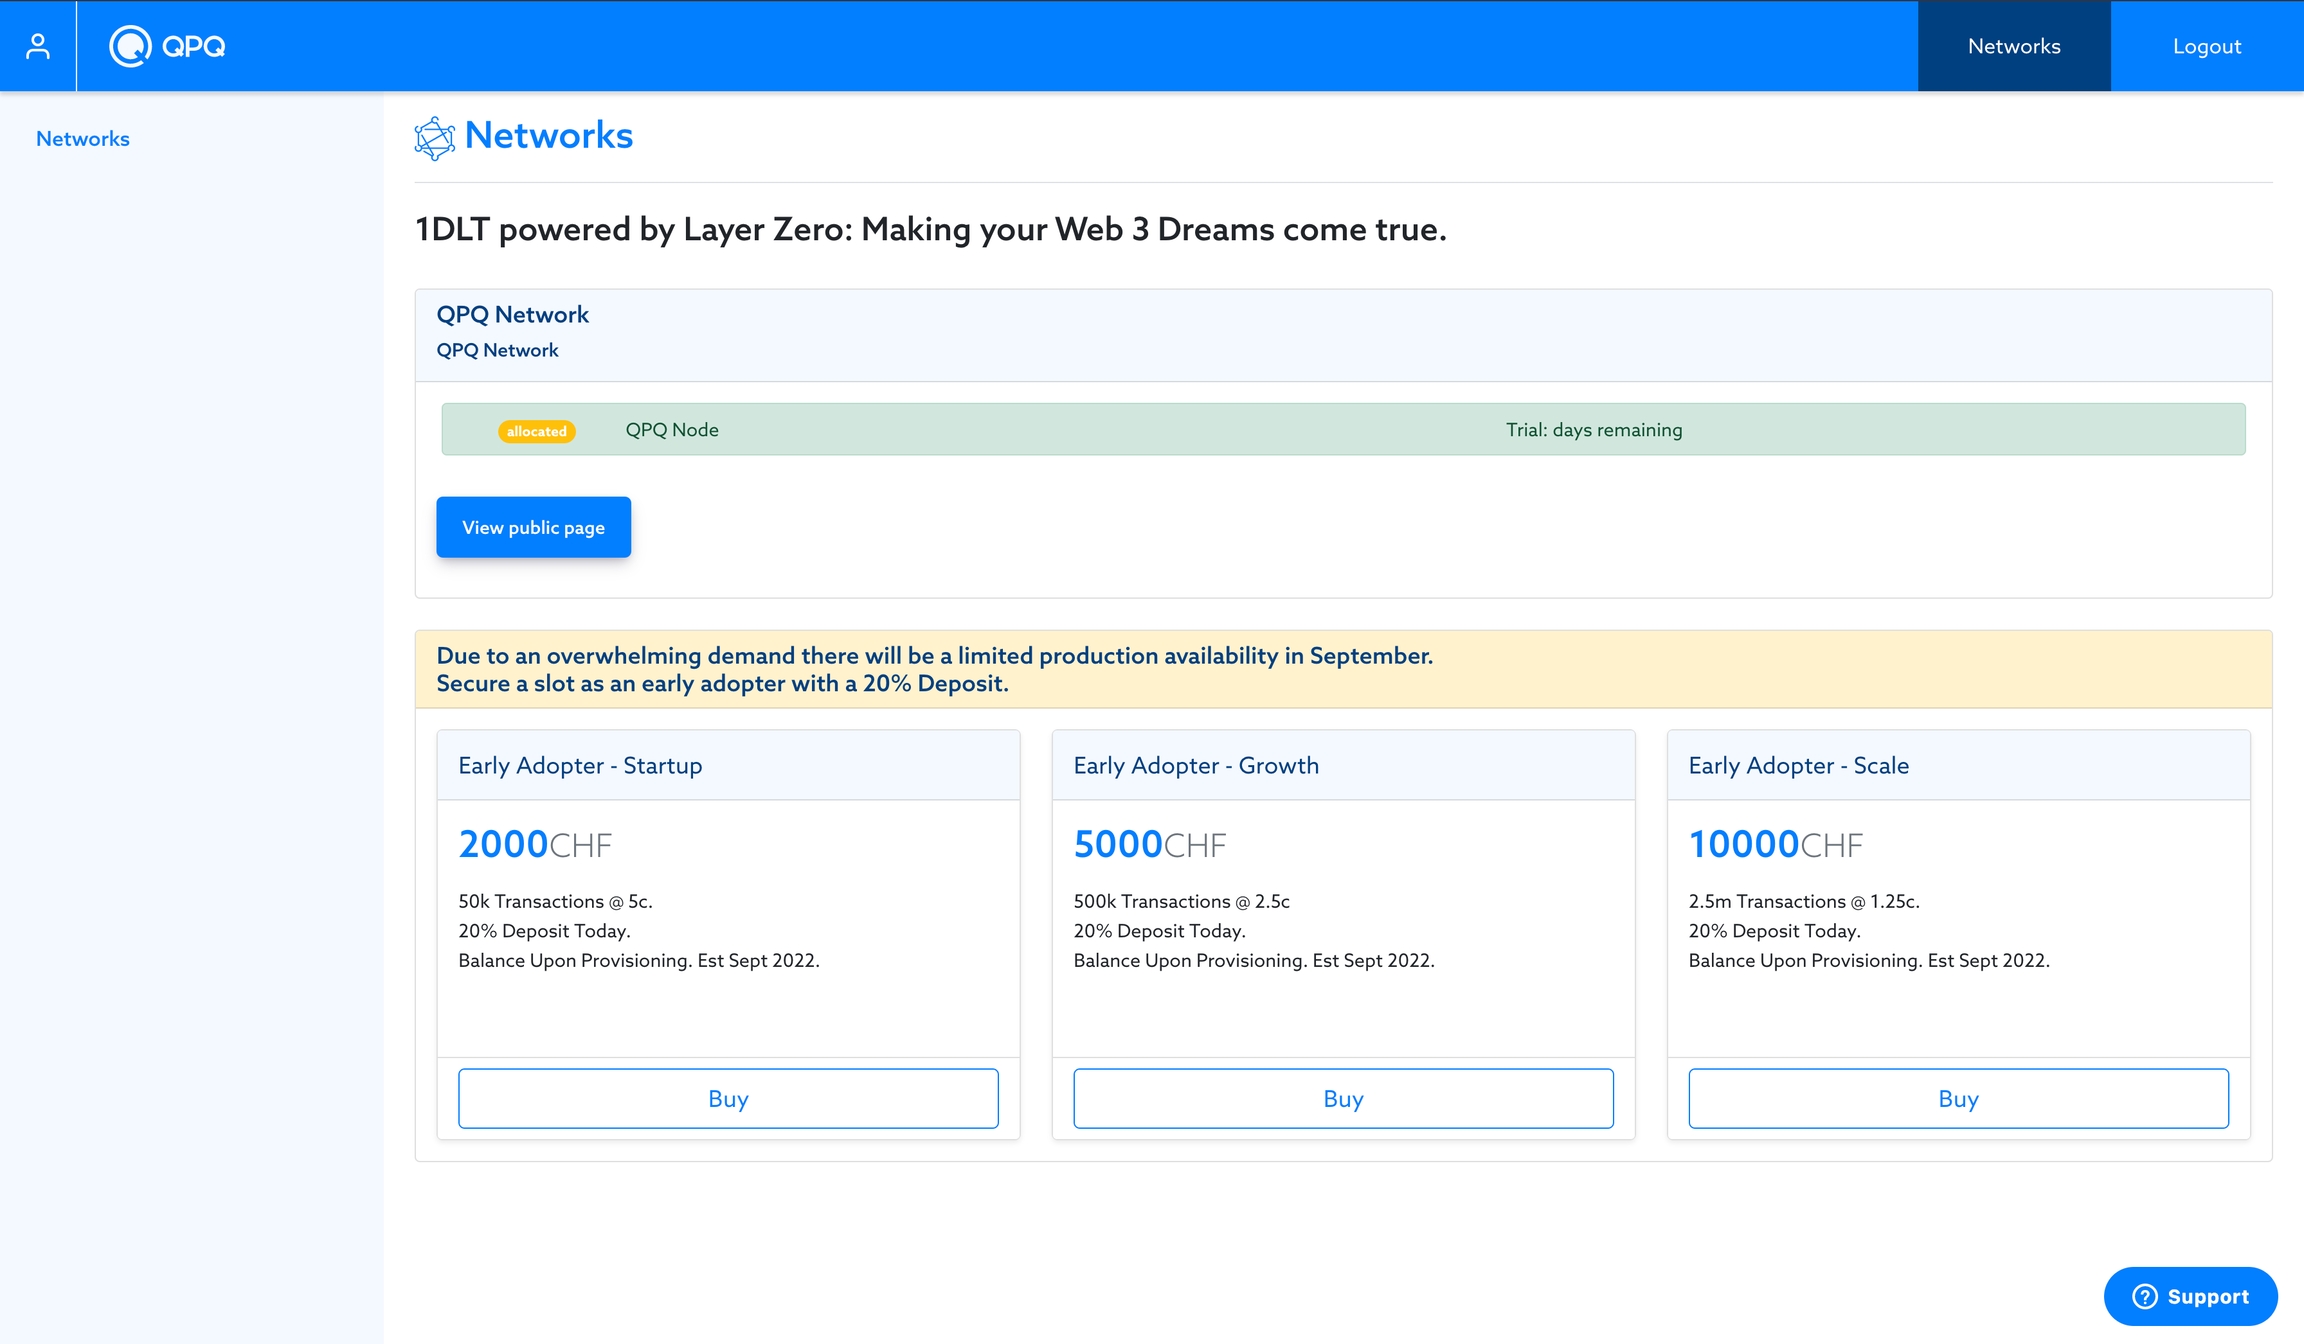
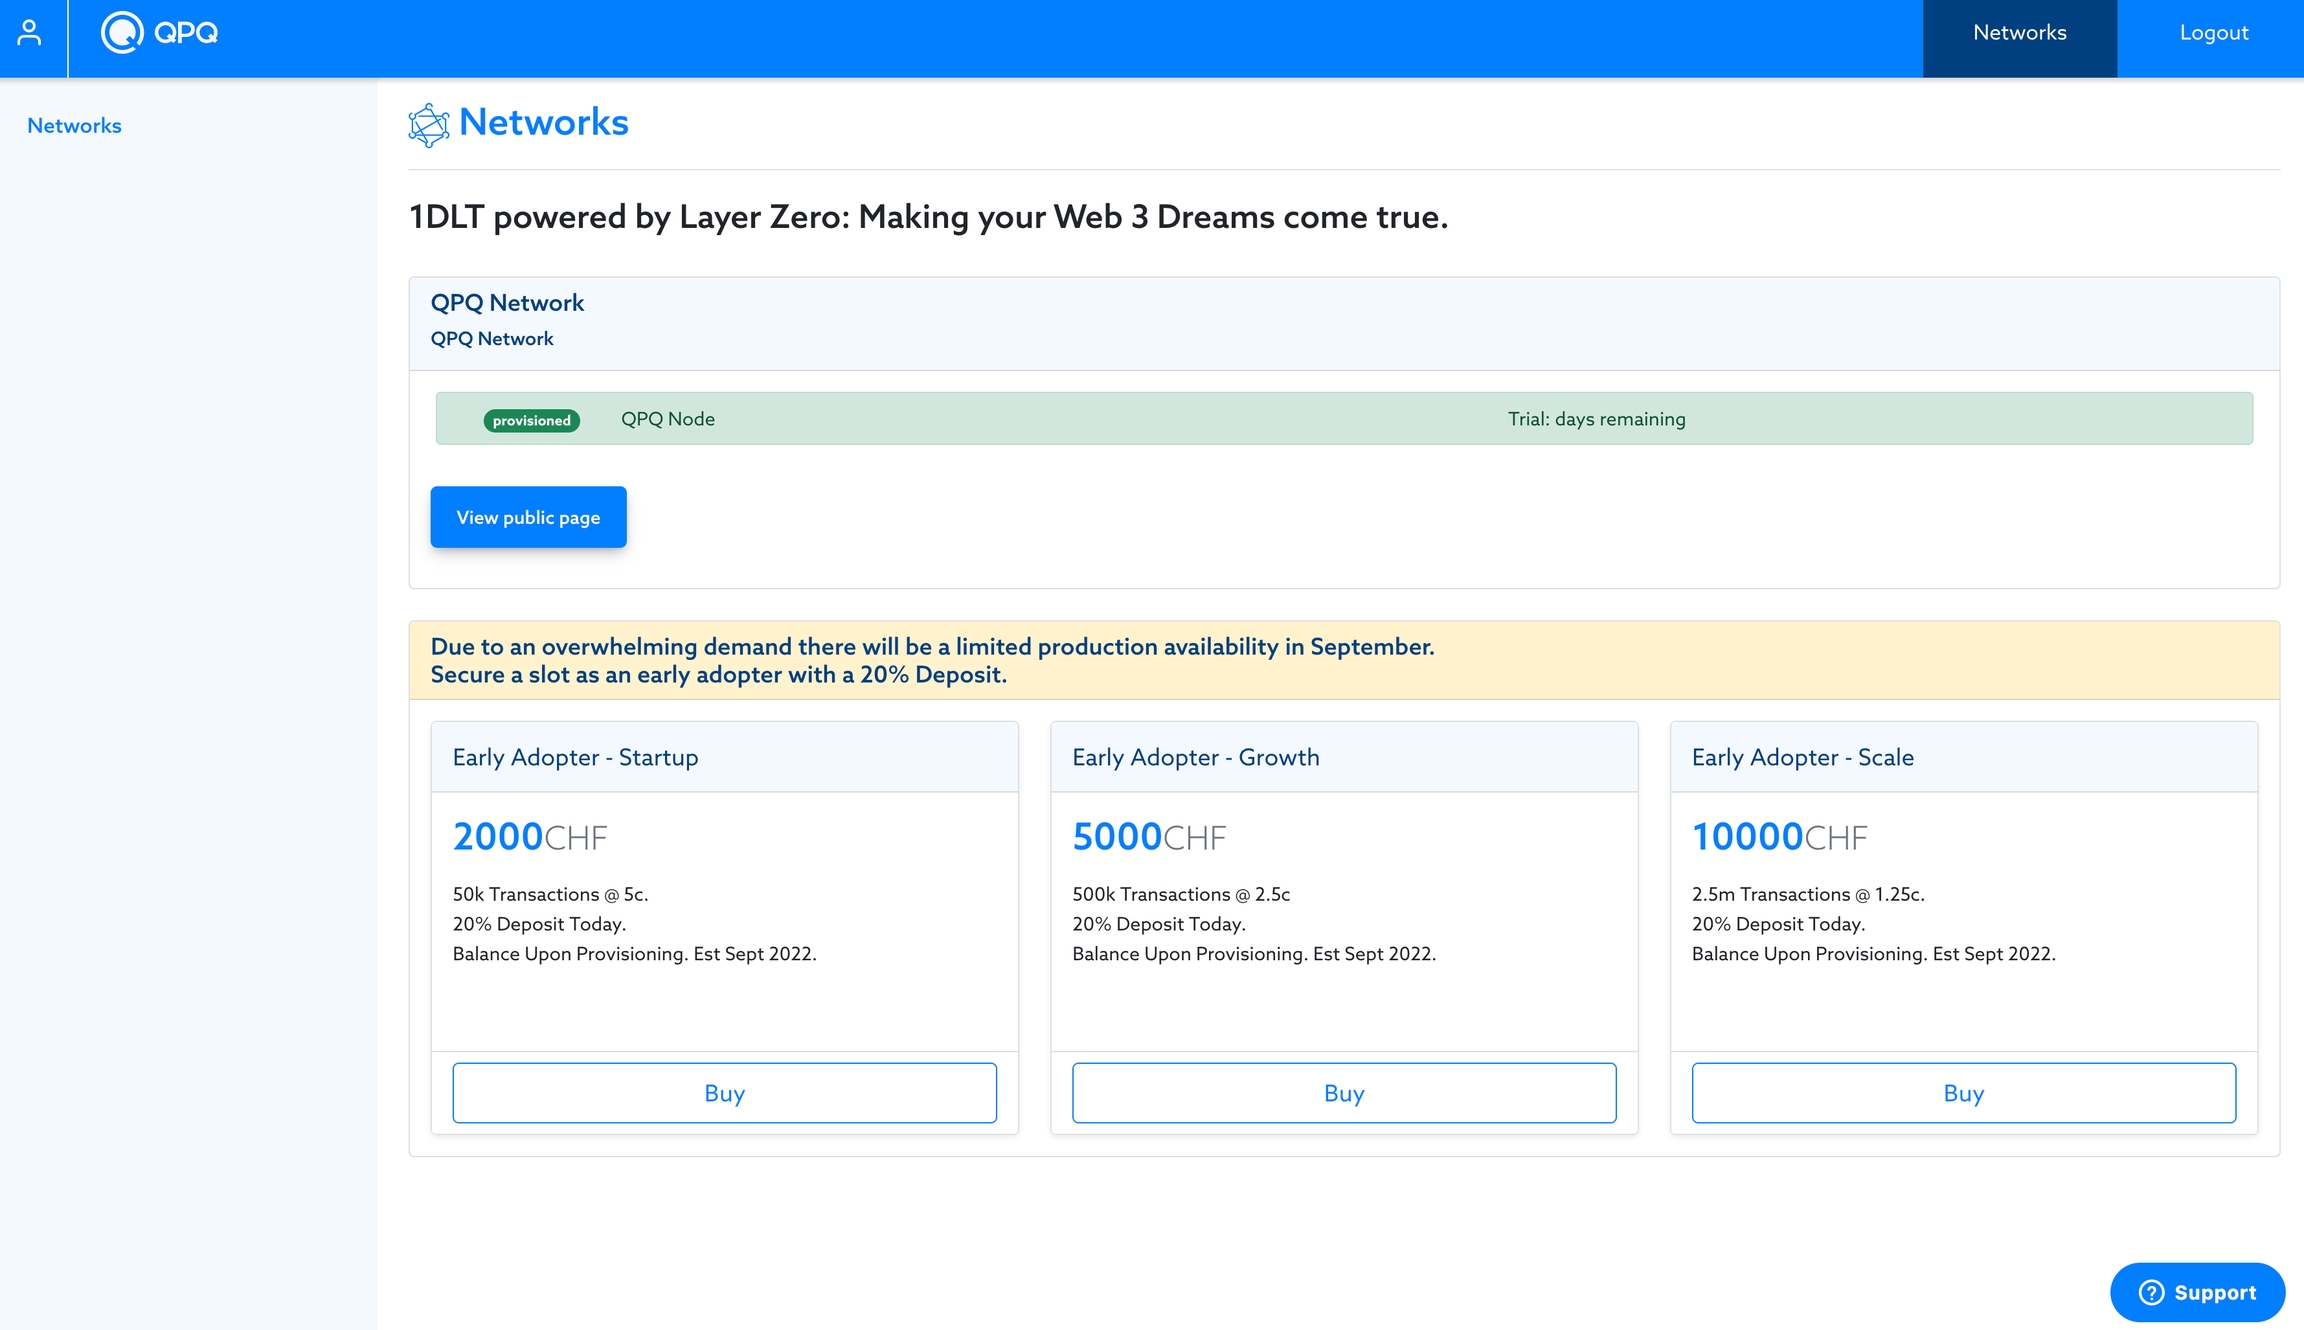
Once the node has been built and deployed to your selected Cloud Provider, the node's IP address will be visible, and the indicator for the node will be a green circle.
Once the node has been built and deployed, the status will be changed to "provisioned," and the node's IP address will be visible on the public page.
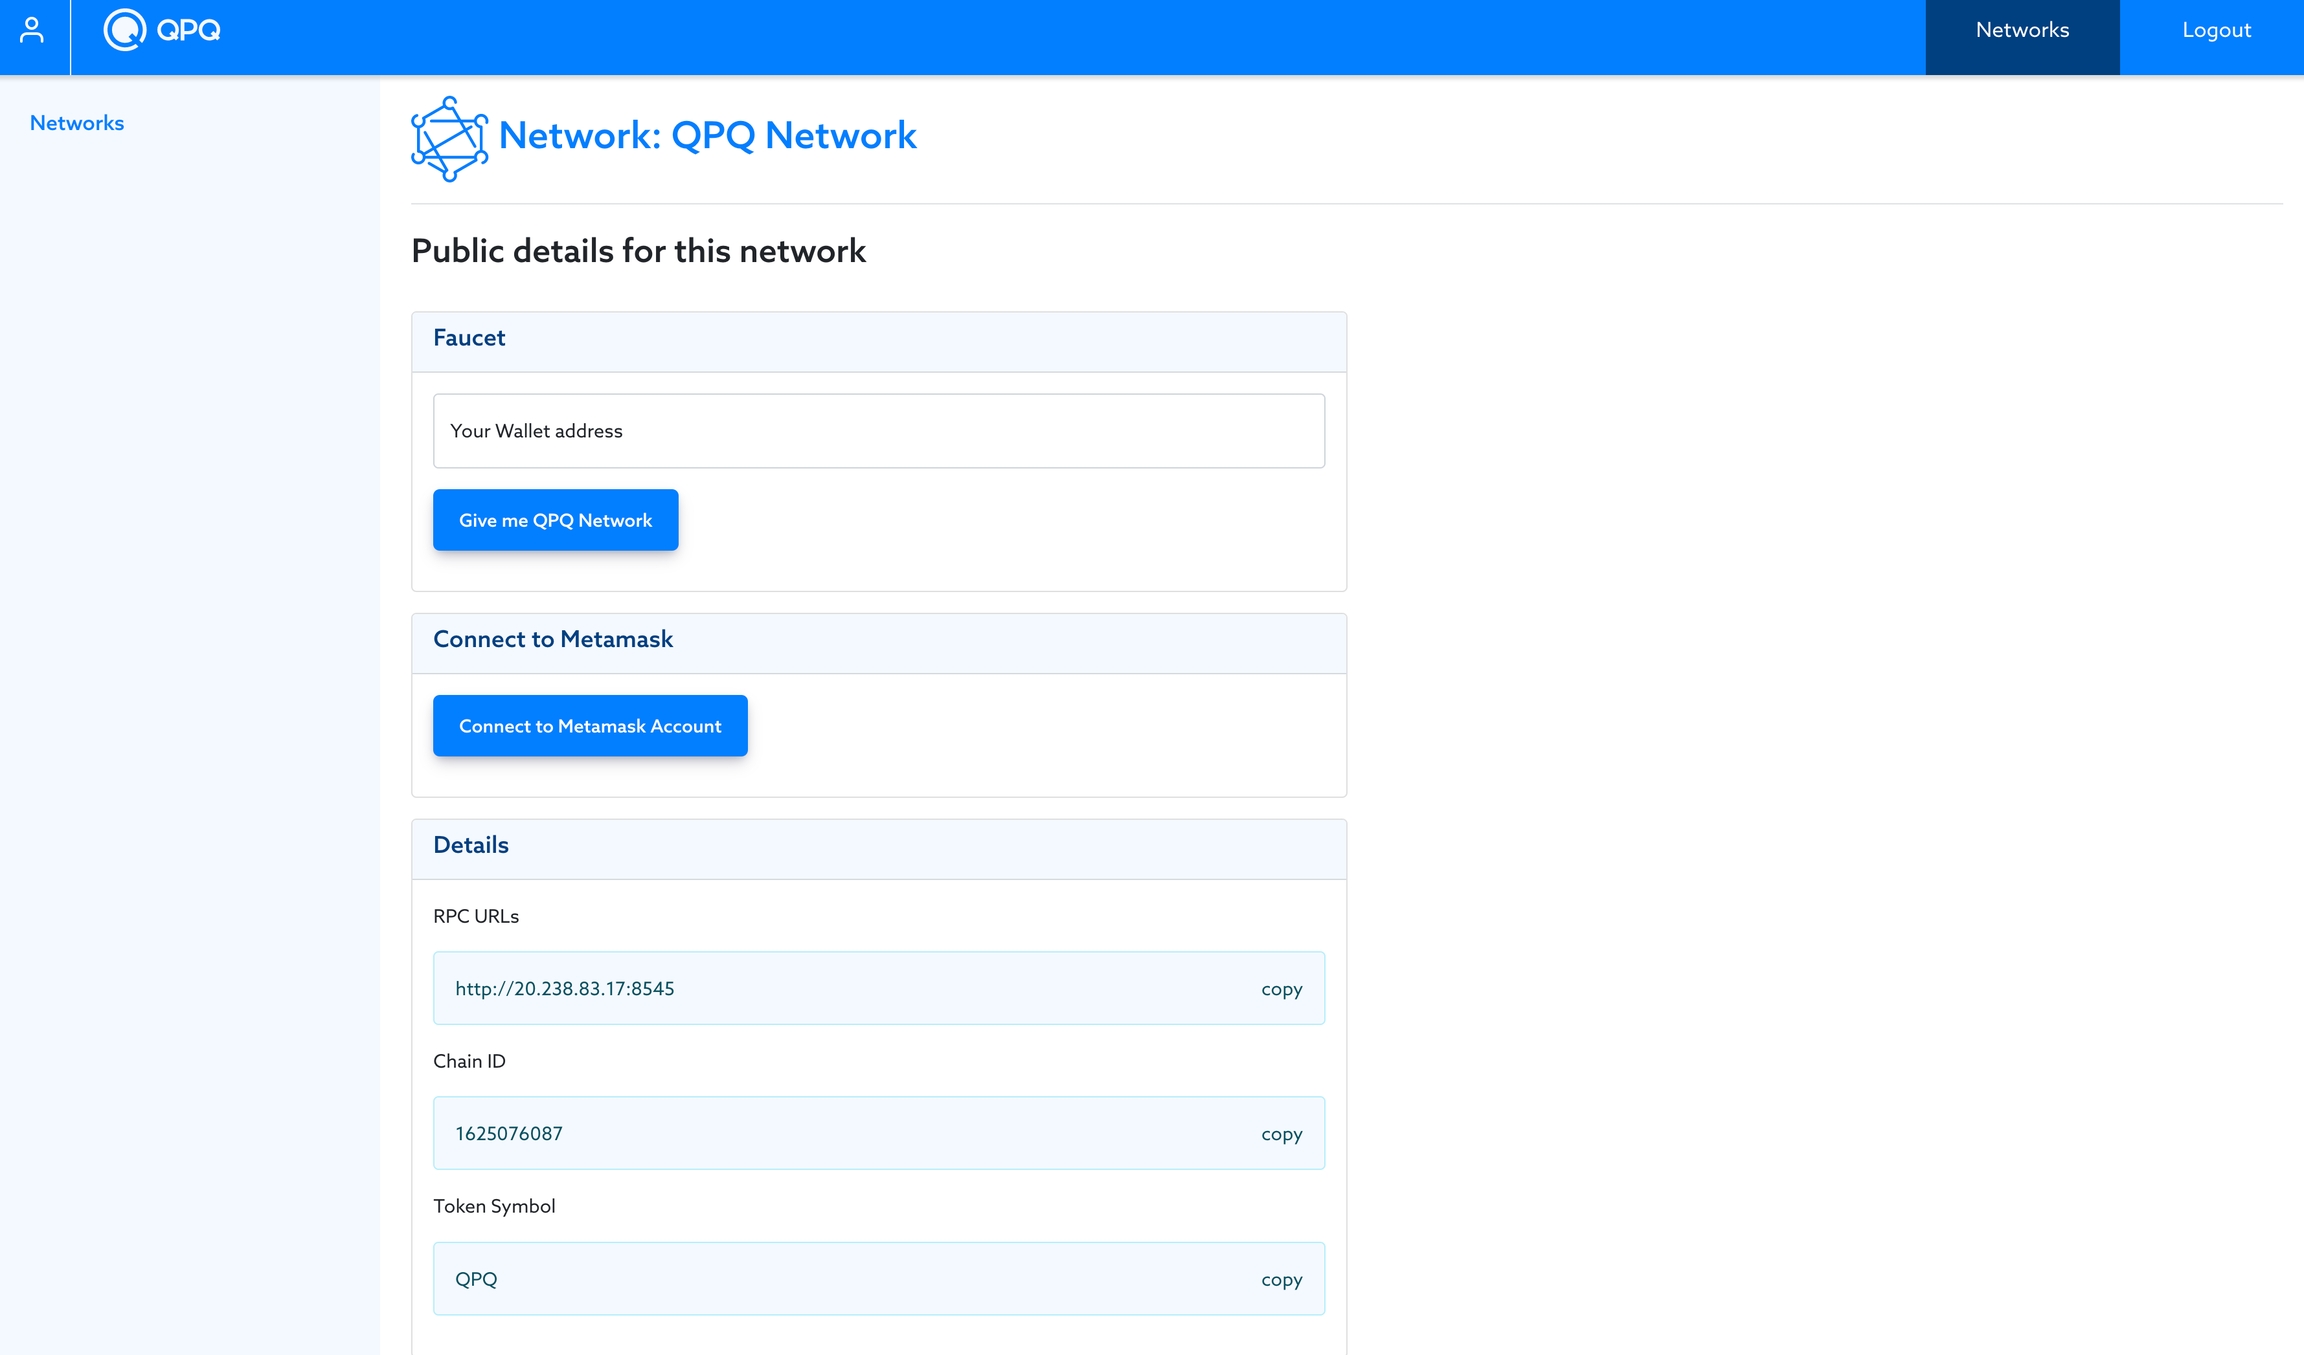
Clicking the link "View Public Page" gives you a public page you can share with others who wish to connect to your network.
This page is especially useful for Web3 Developers to connect and deploy their decentralized applications ("dApps"). The link to this page should be what a Network or Node Administrator should share with Web3 Developers.
Last updated